uDeploy
Overview
uDeploy is a widely used deployment automation tool that facilitates the continuous delivery of applications across different environments.
By integrating uDeploy with Enov8, you can automatically push information about deployed application versions to Enov8. This integration is particularly useful for updating environment instance versions or microservice versions within Enov8, ensuring that the platform reflects the most current deployment state. This seamless connection helps maintain an accurate and up-to-date overview of your application landscape, enabling better environment management and deployment tracking.
Prerequisites
Before integrating Dynatrace with the Enov8 platform, ensure the following prerequisites are met:
uDeploy Access and Permissions
- Ensure you have required access to your uDeploy instance to add a post deployment step.
- Verify that your uDeploy instance is accessible via the internet or the necessary network configurations are in place for communication with Enov8.
Enov8 Access and Permissions
- Ensure you have the necessary permissions within Enov8 to configure integrations in the Orchestration Management Module and access to the Add-On section.
Enov8 REST API Authentication
- Obtain the Enov8 REST API User ID & Key required for configuring the webhook listener to update Enov8. Ensure these credentials have the appropriate read, create and update permissions.
To obtain the REST API authentication details for Enov8, please refer to the Generating an API Key section.
Integration Steps
Add uDeploy Webhook Listener
The first step in this integration is to add the uDeploy Webhook Listener in Enov8, which will listen for incoming messages from uDeploy.
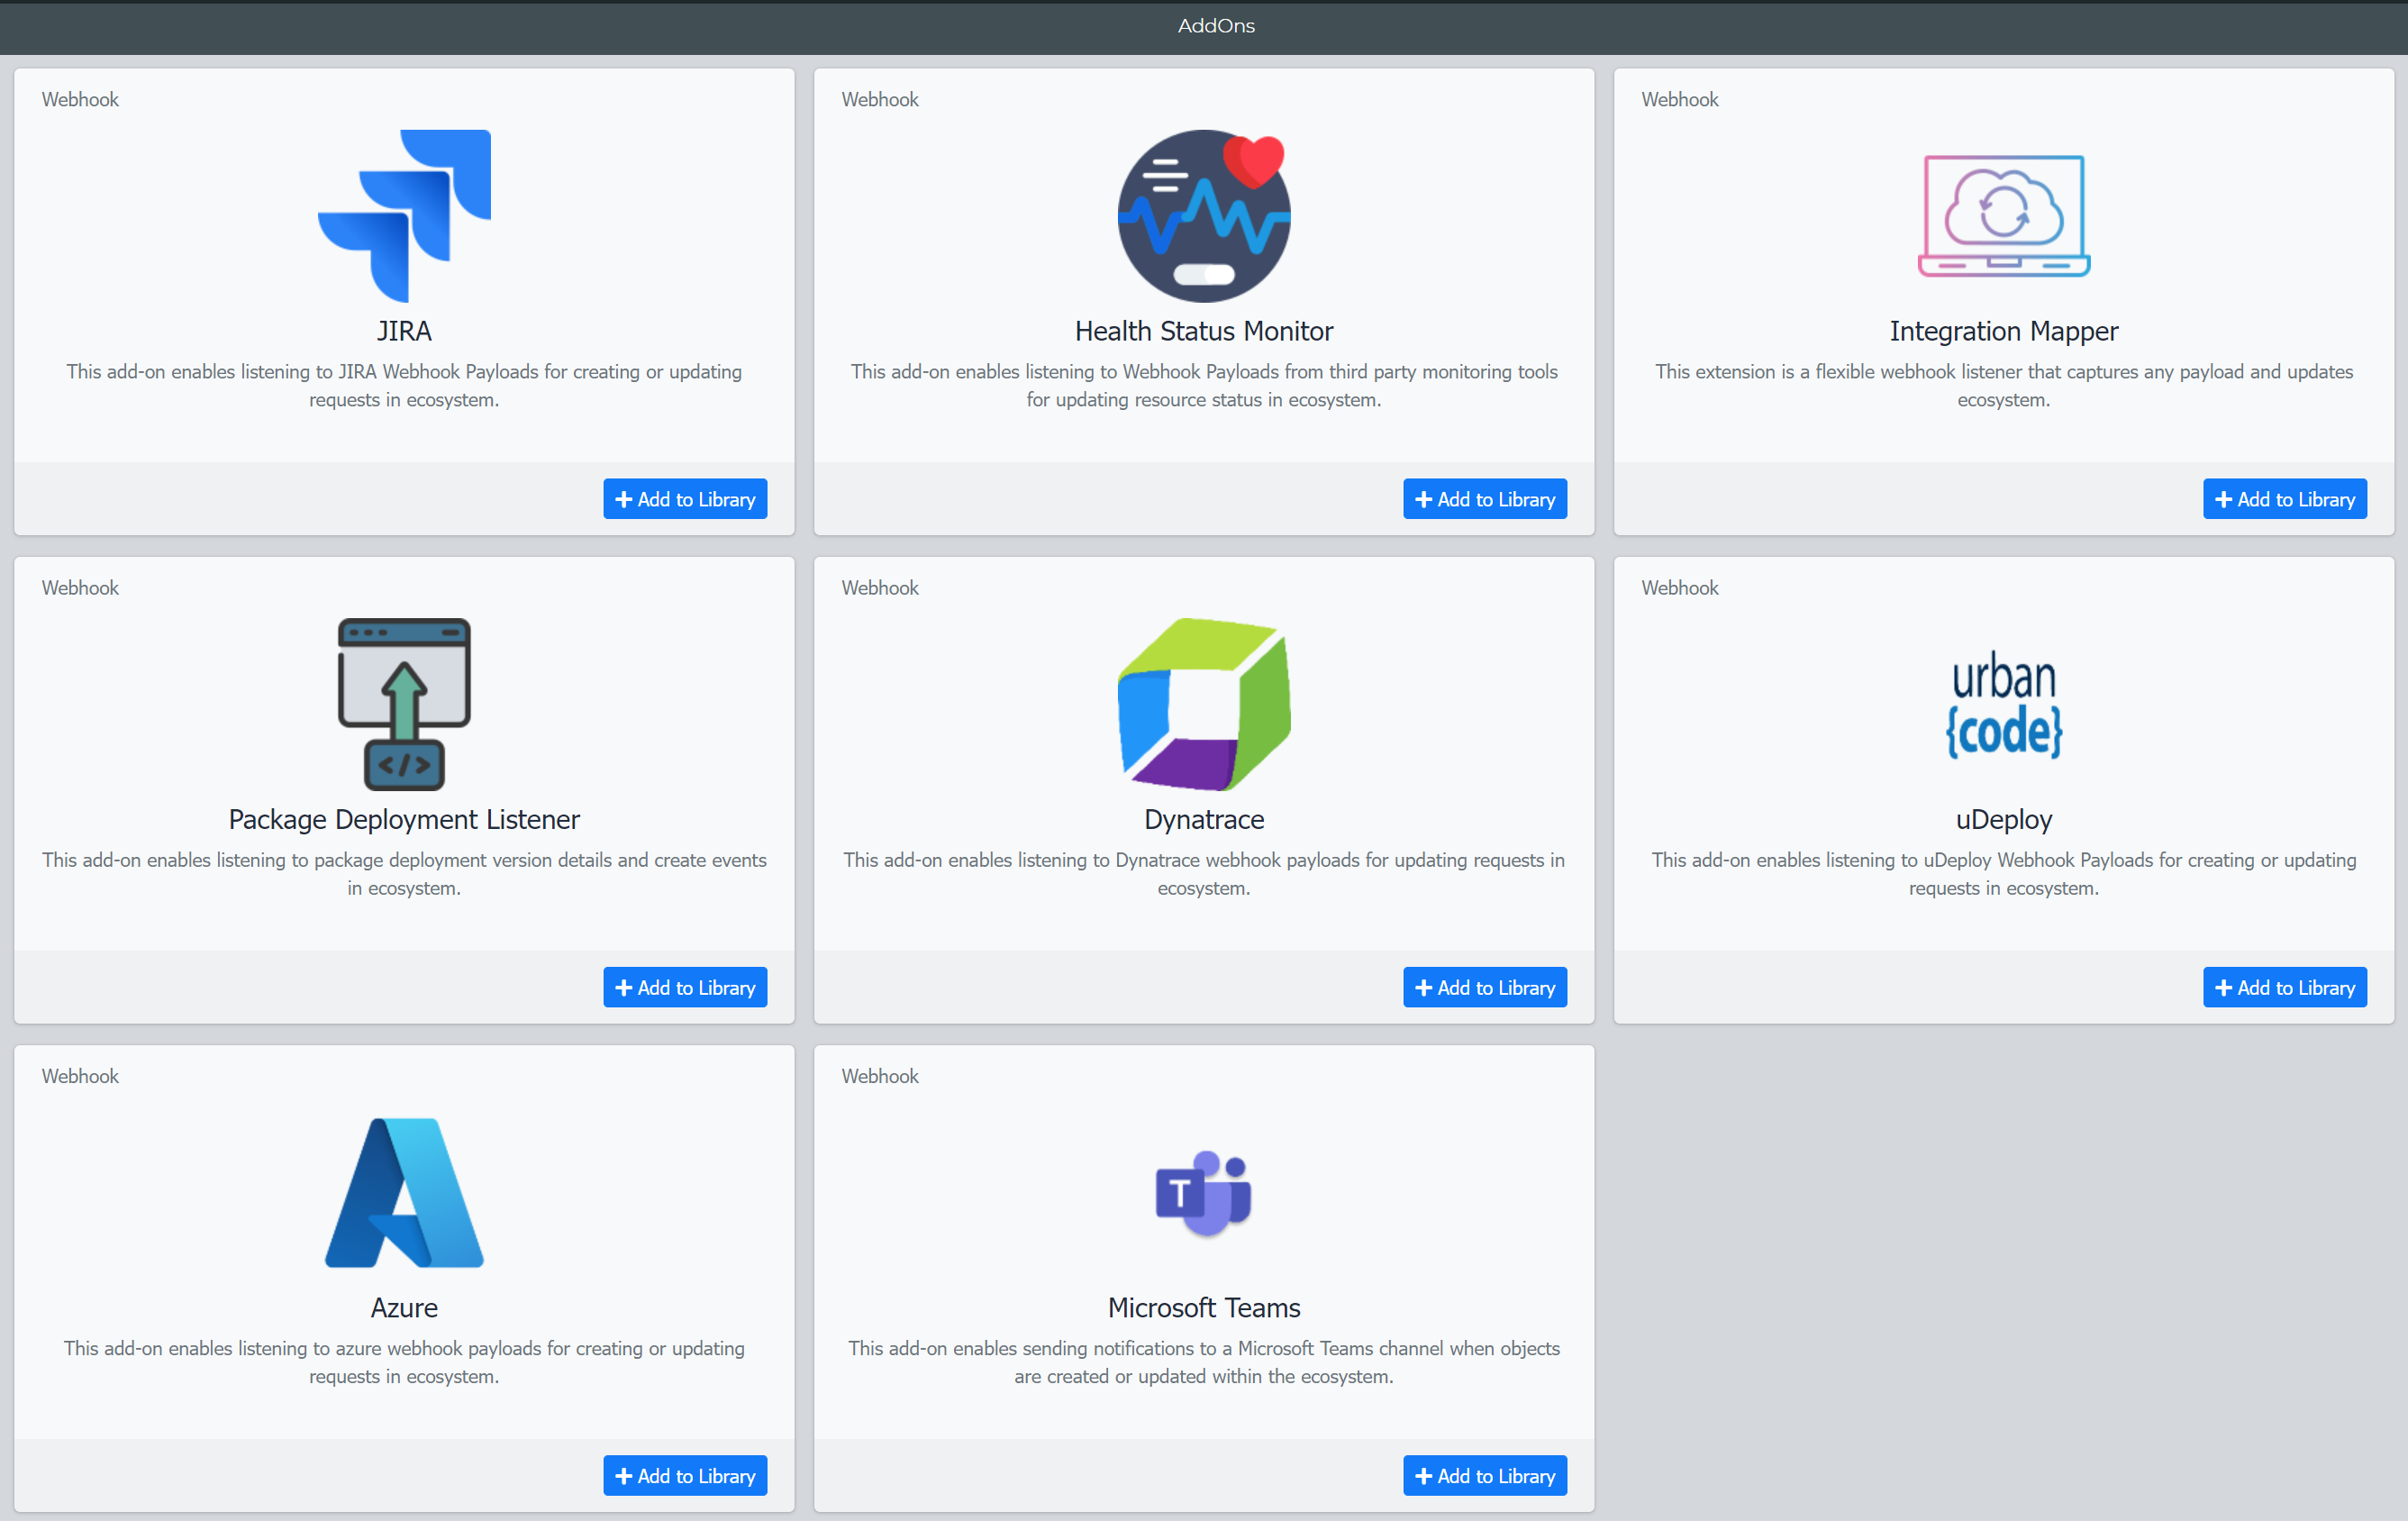
To add, navigate to Orchestration Management >> Administration >> AddOns.

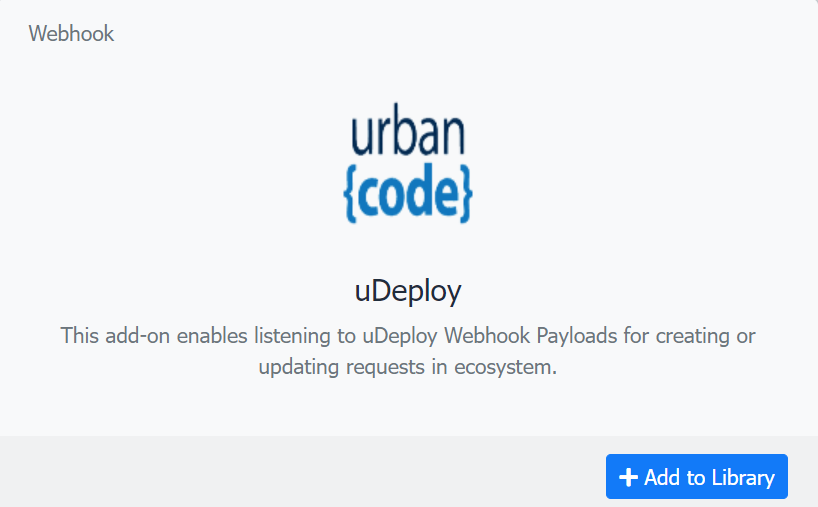
Click on "+ Add to library" on the Dynatrace Listener Panel.

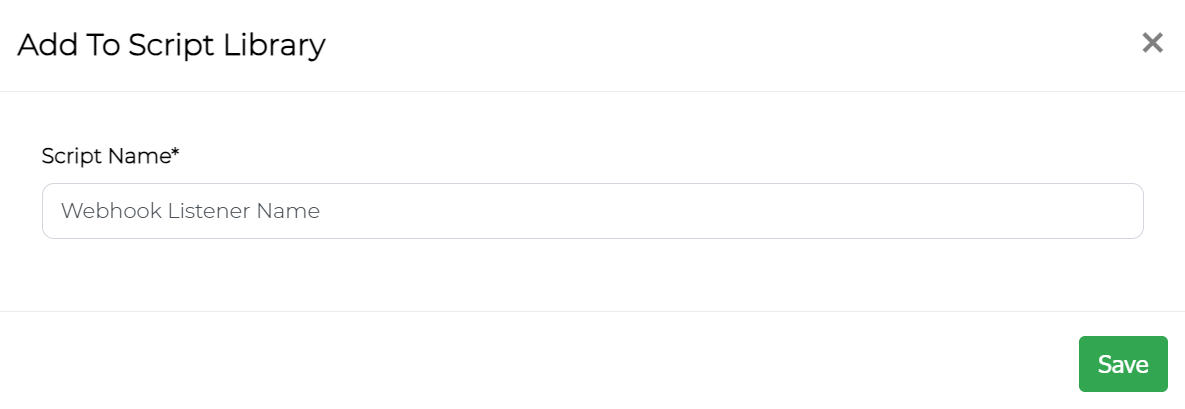
Provide a user friendly name for your listener and click "Save". This will add the webhook listener to Orchestration Manager Script Listing.

Generate Webhook URL
Now navigate to Orchestration Management >> Scripts >> Manage Scripts. In this section, you will see a list of all the scripts that have been configured in ecosystem. Locate the webhook listener script added by you in the previous step and make a note of the Script ID.

Replace the Script ID in the URL below with the above Script ID Value to form the webook URL for Dynatrace.
{vo url}/client/scripts/{Script ID}/index.php
Provide this URL to your uDeploy Administrator to setup as part of the post deployment step on successful deployment.
Configure Webhook Listener Mapping
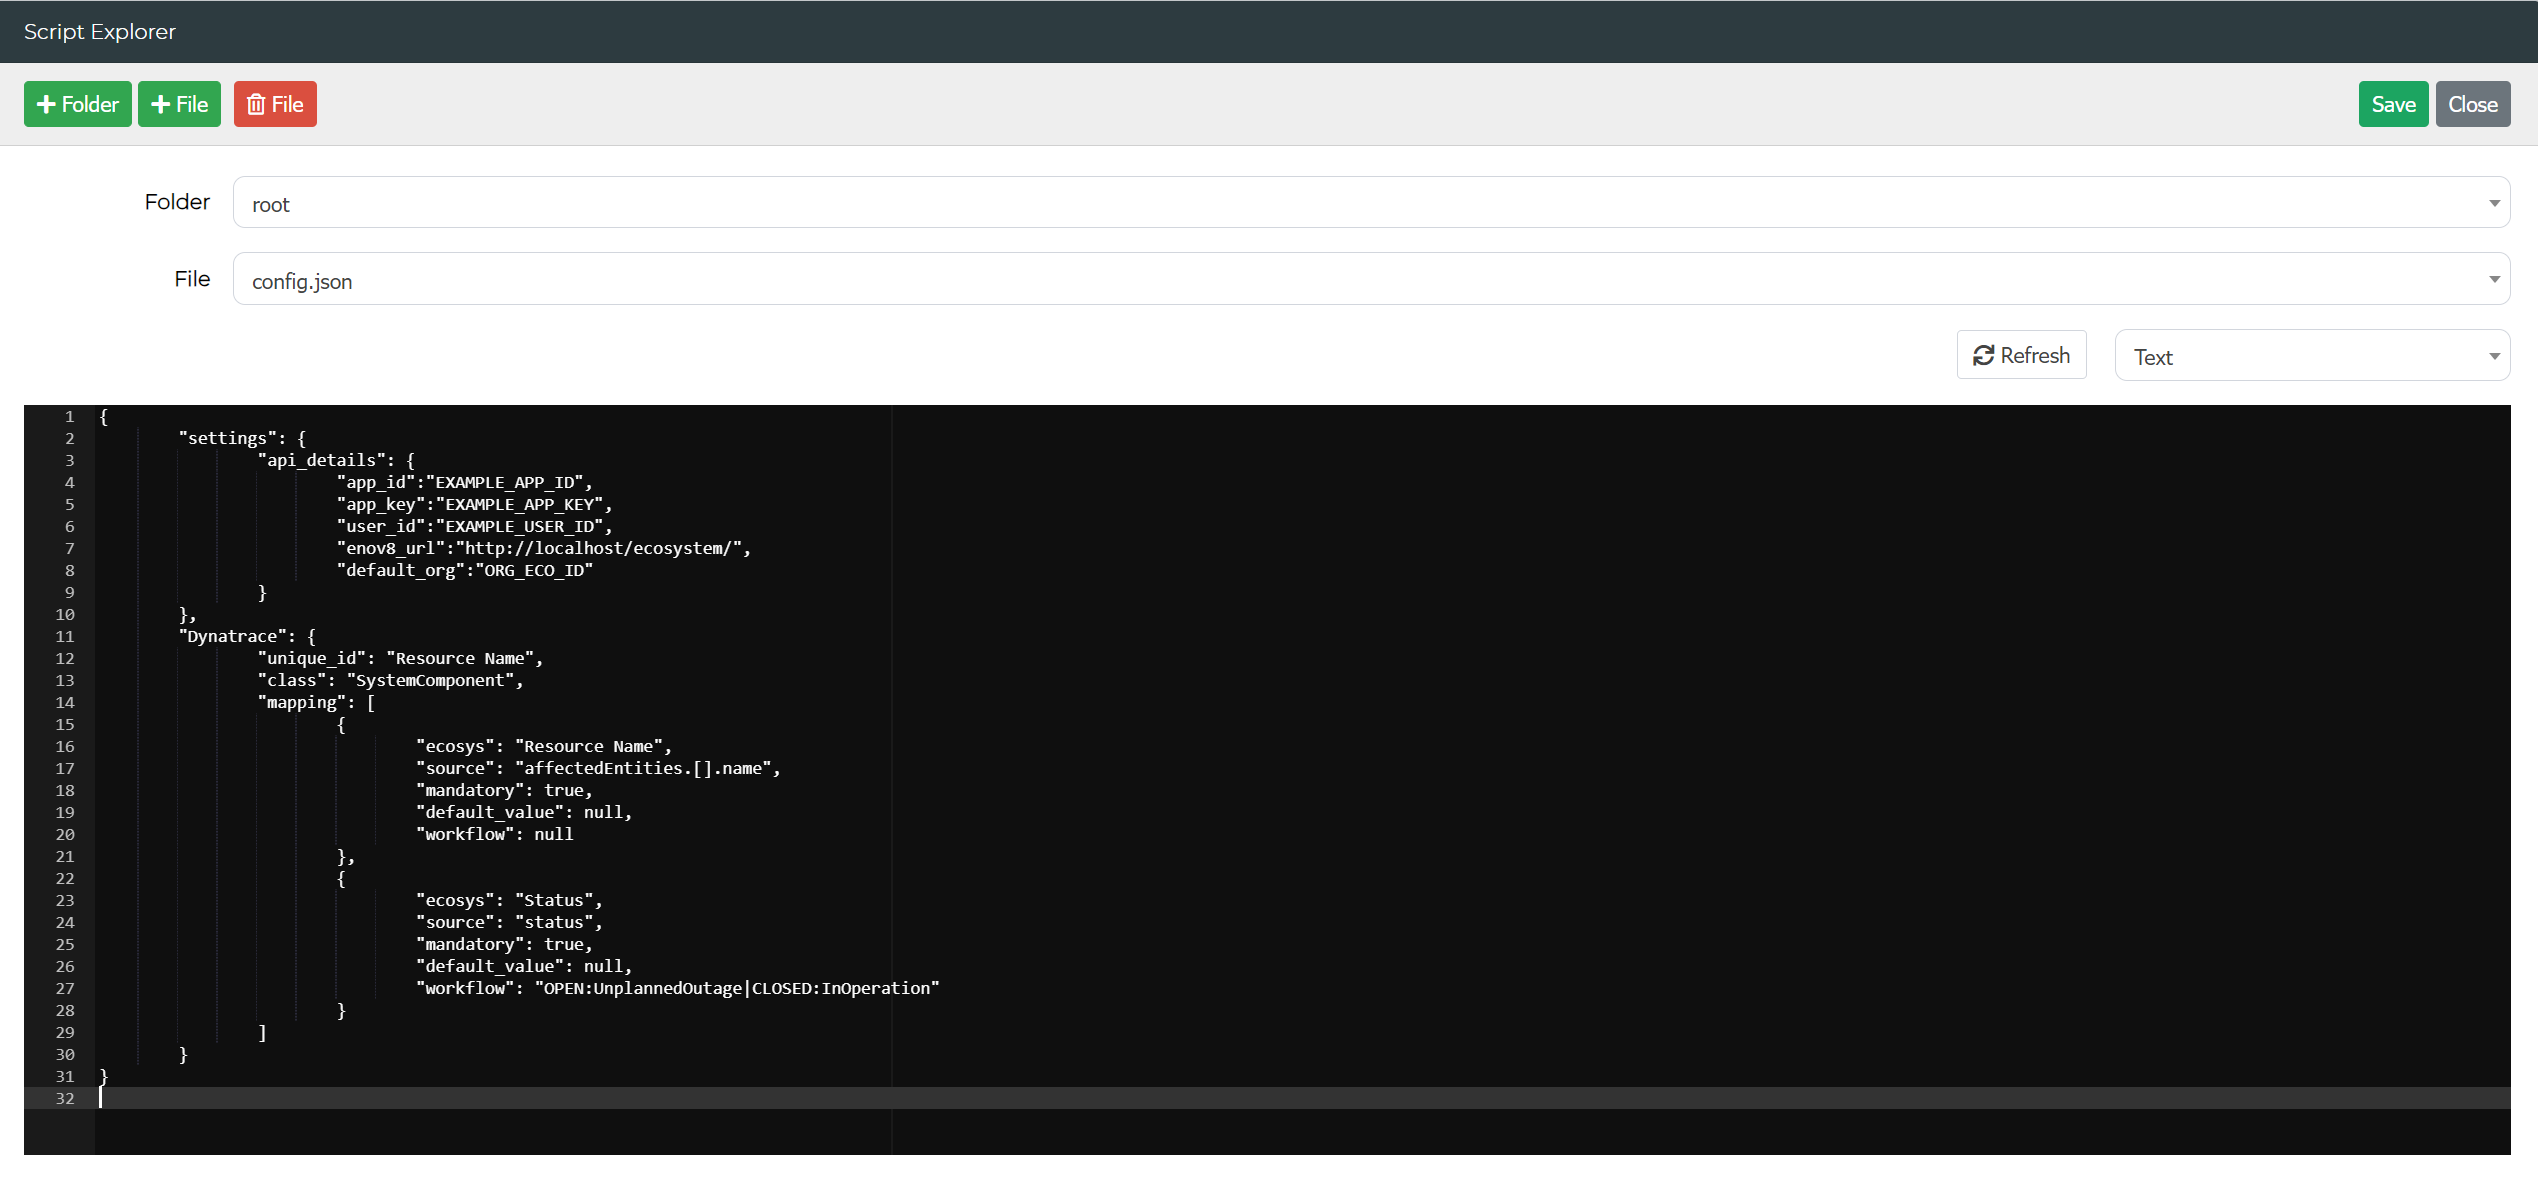
The next step in the integration is to configure the mapping in the webhook listener. To edit the mapping, click on the explorer icon in the listing.

Select config.json in the file dropdown. This will open the config in the file editor.

The first step in configuring the mapping is to provide enov8 platform REST API Authenication details in the below section of the config.
API Section
  "api_details": {
                        "app_id":"EXAMPLE_APP_ID",
                        "app_key":"EXAMPLE_APP_KEY",
                        "user_id":"EXAMPLE_USER_ID",
                        "enov8_url":"http://EXAMPLE_HOST/ecosystem/",
                        "default_org":"ORG_ECO_ID"
                }
Post Deployment Step
The next step involves configuring the payload that will be sent as part of the post-deployment process to the webhook listener URL generated in the previous steps.
There are multiple JSON payload formats available for this integration, depending on the information accessible in uDeploy and the specific deployment details.
Environment Instance Deployment
The example below provides a payload that can be added to your uDeploy post-deployment step for tracking the version upon successful deployment of a environment instance.
Example 1
Use the following payload if you have the system name and environment where the deployment occurred. The integration will automatically detect the environment instance within the ecosystem based on the system and environment, and it will update the version accordingly. If multiple instances are found, the integration request will fail.
 {
    "System": "GDW",
    "Environment": "DEV",
    "Version": "30.6"
}
Example 2
Use the following payload if you have the name of the environment instance where the deployment occurred. The integration will update the version of the specified environment instance.
 {
    "SystemInstance": "GDW (SIT)",
    "Version": "30.6"
}
Micro Service Deployment
The example below provides a payload that can be added to your uDeploy post-deployment step for tracking the version upon successful deployment of a microservice within an environment instance.
Example 1
Use the following payload if you have the system name and environment where the deployment occurred. The integration will automatically detect the environment instance within the ecosystem based on the system and environment, and it will update the version accordingly. If multiple instances are found, the integration request will fail.
 {
    "System": "GDW",
    "Environment": "DEV",
    "Microservice":"Customer Portal",
    "Version": "30.6"
}
Example 2
Use the following payload if you have the name of the environment instance where the deployment occurred. The integration will update the version of the specified environment instance.
 {
    "SystemInstance": "GDW (SIT)",
    "Microservice":"Customer Portal",
    "Version": "30.6"
}